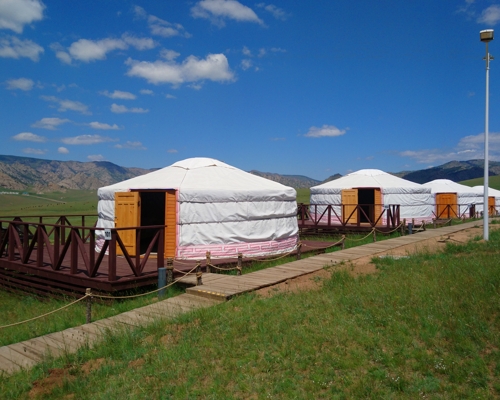
How to Build a Mongolian Yurt?
Keep in mind that yurt construction requires a team, and more hands for faster build.
Preparation:
- Platform Setup:
- Build a wooden platform, preferably raised off the ground.
- Use plywood or other suitable materials. A local carpenter or handyman can assist, or follow provided instructions.
Stage 1: Fitting the Door & Trellis:
- Attach the trellis to the door and each other.
- Start by stretching out the trellis just above the door height.
- Diagonally cut pieces of wood help fit the trellis into the door smoothly.
- Proceed to link additional trellis sections, ensuring proper alignment.
Stage 2: Wall Connection & Tying:
- Use a simple rope tying method.
- Begin with an overhand knot at the top and continue snaking down.
- Maintain two points of contact between the trellis sections.
- Tie off the tension rope, ensuring a tight fit around the yurt.
Stage 3: Attaching Support Posts to the Crown:
- Tie support posts to the crown using overhand or fisherman’s knots.
- Place support posts strategically, avoiding painted or carved areas.
- Ensure equal distances from the door to the back and sides.
Stage 4: Inserting Roof Poles:
- Insert roof poles into the crown following the numbered order.
- Secure poles with horsehair ropes and ensure an equal distribution around the yurt.
- Adjust tension bands to prevent the crown from lifting.
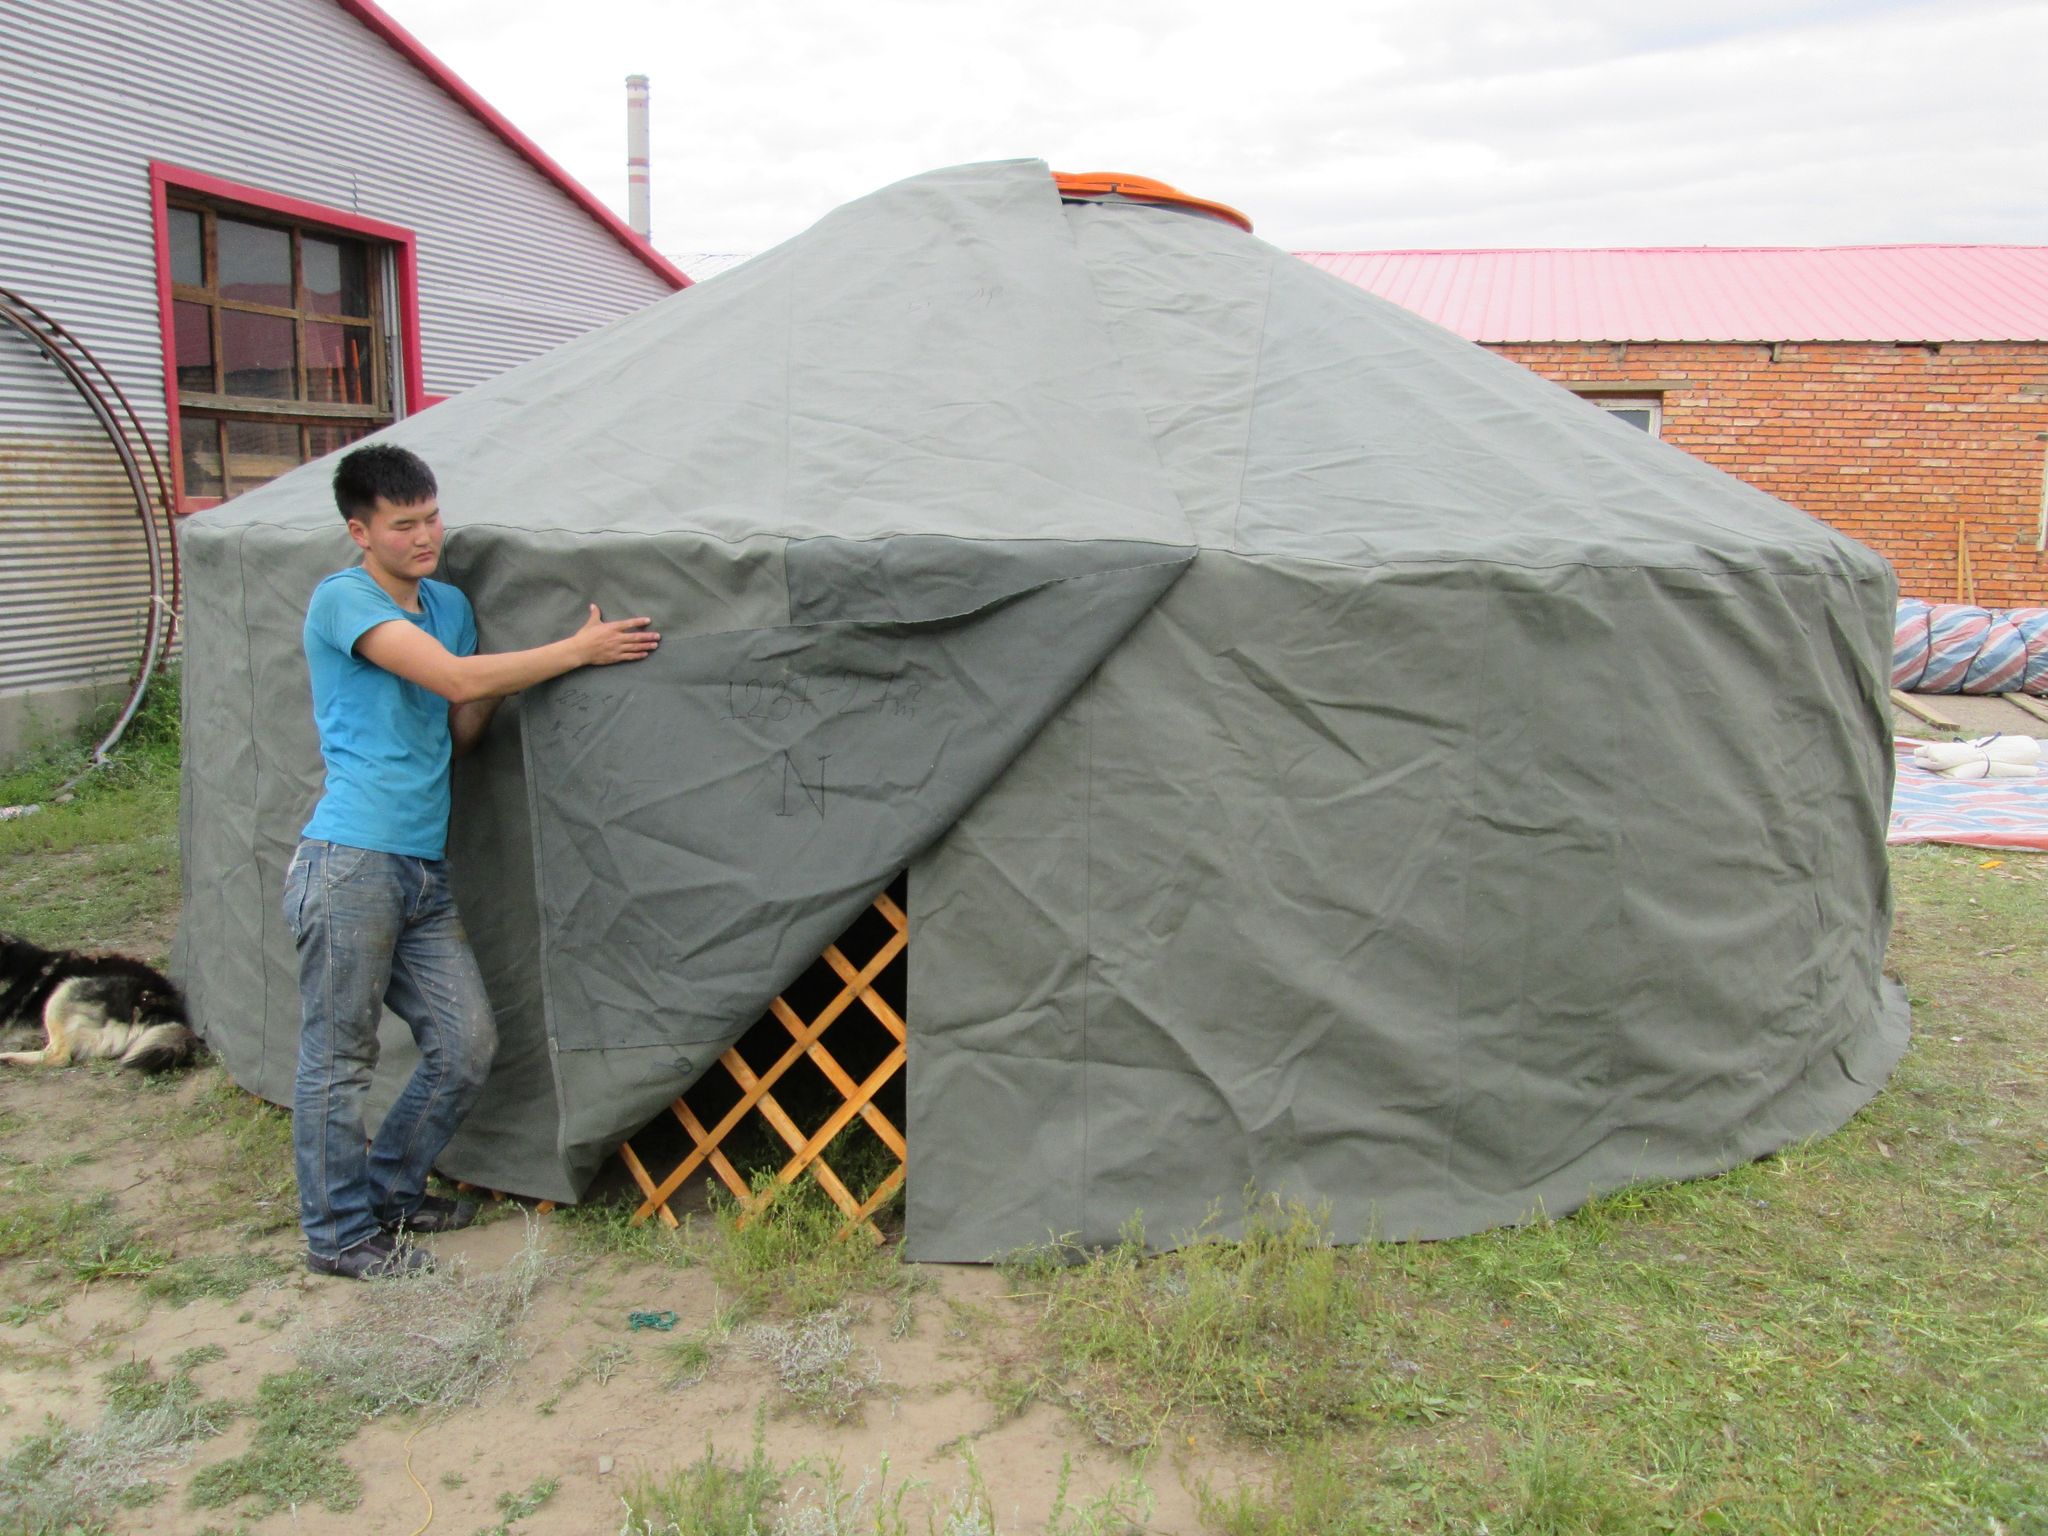
Stage 5: Applying Felt and Waterproof Canvas Cover:
- Apply wool felt sections starting from one side of the door.
- Overlap felt sections and secure them using rocks or weights.
- Place a drip edge to prevent water accumulation.
- Cover the yurt with a waterproof canvas, ensuring proper overlap and sealing.
Stage 6: Securing Lapels & Straps:
- Attach lapels to secure the waterproof cover to the yurt.
- Use straps with overhand knots and a trucker’s hitch for secure fastening.
- Tie down the yurt at multiple points to ensure stability.
Final Steps: Tensioning, Checking:
- Use tension straps to keep the yurt secure.
- Adjust as needed and ensure even pressure.
- Check for any shifts and make necessary adjustments.
Conclusion:
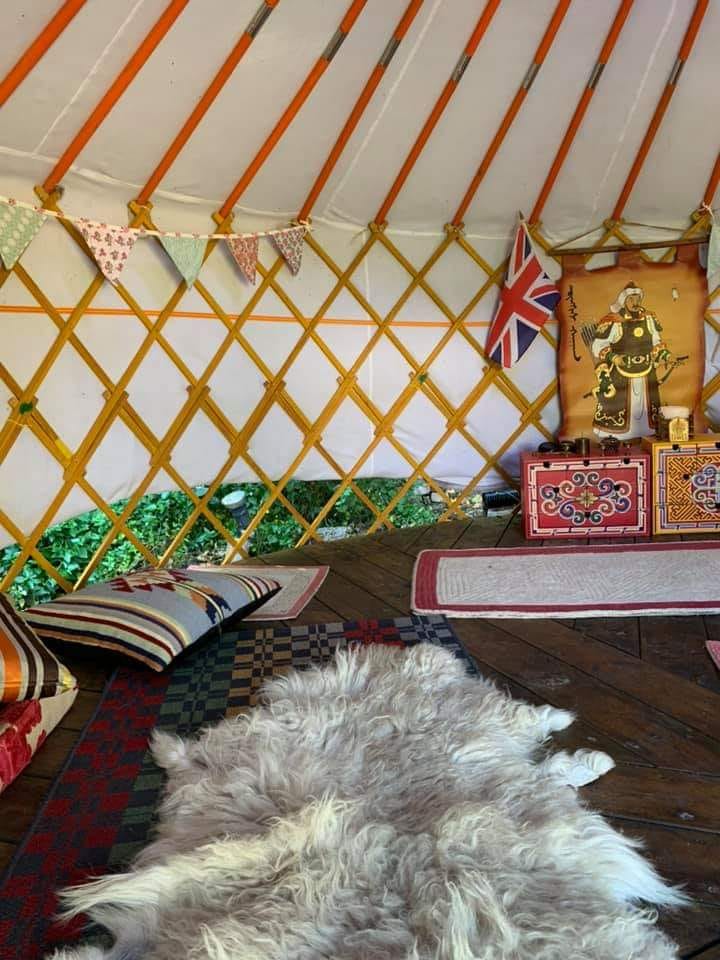
Congratulations! You’ve successfully built a Mongolian yurt. This traditional structure combines functionality with a touch of Cornish craftsmanship. Enjoy your cozy yurt experience!
Our products: Mongolian Yurt